
Back to the Studio and Starting a New Adventure!
Hello! Where the hell have I been? I haven’t posted in months! Well, I’m still here, and I am back to working on the studio. If you will remember, I launched my big plans for the studio last spring only to put them on hold again because I got a bit overwhelmed by some of the work which needed to be done while simultaneously being drawn to other… Hey Look! A Squirrel!
My focus shifted to the back yard where I got a water spigot installed. Then in August, I needed to change focus again and work on another room in which I have never really discussed here, and is now about 75% done. (More to come on that space soon-ish, I promise.) It is now five months after buying the paint for the studio, and I have been making real progress this past couple of weeks.

There’s a Fire Burning Under My Ass:
So what lit the fire under my ass to get the studio done? (Because it often takes a fire under my ass to get me going.) Well… I am embarking on a new hobby. I want to learn and begin working in stained glass, as both a craft and an art form. BTW… Can I just say that I hate the word ‘craft’? I am not thinking craft as in ‘arts and crafts’, but rather as in skilled craftsman. At least that is my goal. [Image above: I want to be able to create beautiful works like this one by glass artist Susan Hovel.)
Stained glass is something I have wanted to work with for many, many years, but I’ve always lacked the start-up budget, the space, the tools, and the equipment. As with so many other endeavors I have wanted to explore and learn, I have always been held back due to my having always lived in tiny apartments my whole adult life and/or my limited budget… Until now.
Everything changed when we moved into our house. Between the basement and the entire third floor, I have more than 600 square feet of space to practice my creativity. As for the budget, well… Middle age has its perks.
I looked into what it would cost to get started and learned that for a few hundred dollars, I could acquire the basics to get going, and then build on it from there. So, over the summer, I began to research what I needed to get set up with the intentions of getting started this fall.
Now, to be completely honest, I have never done stained glass. That said, I have had a fascination with it since I was a child sitting in church observing how the rays of sunlight penetrated the intense deep colors of the stained glass windows. And then there is the fact that I have always been attracted to shiny objects and intense colors. I even attended the (now long defunct) Neon Art and Tube Bending School in Portland, Oregon where I learned the art of glass tube bending and how to make neon signs. (Still a lifetime dream I have yet to pursue 😢)
So, even though I have never actually done stained glass, I have a natural aptitude for such things. I have a good amount of experience in related things, and I am 100% confident that I will do well. My hope is that this I can evolve my skills into a money making sideline one day. I have no doubt that I can achieve it.

Planus Interruptus…
So, I had a plan… I figured I would acquire the basics and start small…. Then a helping hand from God stepped in and completely interrupted my plan (in a good way). At the very end of August, I was randomly looking for pretty things on Craigslist (as I am wont to do) when I stumbled across a listing for an entire stained glass studio (shown above). I am talking tools, equipment, workbenches, glass, and everything needed to start up and get going in stained glass. All for only a few hundred dollars more than I was already planning to spend.
I immediately reached out to the seller who sent me a list of all of the included items, and after looking some things up online, it was clear that the seller was offering a huge amount of goods for a mere fraction of its value. This was too good of a deal to pass up.

After an electronic handshake agreement with the seller, we rented a truck two days later and drove 50 miles down into Delaware to his home where we loaded up the entire back of a pickup with his goods. After talking with him, I learned that he had been doing stained glass for the past 35 years as a hobby and due to some nerve damage in his hands, he has had to give it up. He decided to just sell the entire set-up and just be done with it. My heart went out to him as I could tell this was a very difficult decision for him. As we drove away, I could almost see tears in his eyes.

Once home, we unloaded the entire shop into our reception hall and I began to go through the various boxes of materials and tools. Well… What can I say. I got a bargain… After poking through the boxes, looking at all the sheets of pretty glass (some of which s ell for $30 sq ft), and tallying all the tools and equipment, I realized it was worth far more than his estimate of $1,800. Wow… Just wow… A lot of gratitude for this!

Getting the Studio Ready:
I was, as you could imagine, super excited to get going. But as soon as I began to prepare to haul all of this stuff up to the third floor, I realized that the room simply is not ready. It would be a huge mistake to schlepp all of this stuff up there without having prepared the space first.
After a couple of weeks of other obligations, the fire at my backside propelled me to get serious about finishing the studio space, and I got to work. First, I started in the rear room and sorted through a couple of dozen boxes of things we moved here from NYC. This was my first time really going through all of them since we arrived nearly three years ago and of course, I was surprised by how much crap we moved. I spent an entire day sorting and tossing stuff.

Then, I cleared half the front room and started painting last week. If you will remember, I chose Farrow and Ball’s “Moles Breath (No 276)” as my color (mixed for me by Benjamin Moore). I am using an eggshell on the trim and flat for the walls and ceiling. So far, I am loving it!
While paint was going on the walls, I was still struggling with what to do with our original 1852 random-width heart pine floors. For a long while I was planning to simply restore them and apply an oil finish. They have the potential to be amazing. However, I’ve had deep concerns about ruining them with spilled paints, or worse, getting glass shards stuck in the gaps between the boards (of which there are many). I wanted to do something that would protect the original floor, be easily reversible, and… Not cost a small fortune.

My solution? Painted plywood panels! I could cover the floor in plywood panels, then prime and paint them. This would minimize gaps, it would make for a durable floor which was not precious with no worries about damaging it. And!… Not only is it cost effective, it’s easily reversible!

As it turned out, I already had five sheets of 3/8″ ply sitting downstairs for another project which is still a couple of years out. There were two problems though… It would be impossible to get a 4’x8′ sheet of plywood up our stairs. So, last weekend, I opted to cut them all in half down to 4’x4′ sheets. However, when Yoav and I dragged them out to the backyard to cut them, another issue arose. It turns out they are sheathing plywood and never intended to be ‘appearance’ boards. I hesitated and considered ordering more plywood with a finer surface, but then thought about it a bit.

The studio is a workspace and not intended to be fancy in any way. Properly primed and painted, there’s no reason these imperfect panels would not work. If this was a bedroom or other living space, I would definitely be using a nicer plywood. But the entire point of this is to provide a practical surface which can get spilled on, will not harbor glass shards, and is relatively easy to maintain. The added bonus of protecting the original floor from damage, making it possible to refinish in the future, makes it a no-brainer.

Of course, I needed to select a color for the floor. This was a fairly simple decision. many decades back, a red border was painted around the perimeter of the room. This was common practice as there was usually an area rug in the middle covering the unpainted area. I really liked how the old red border worked with the Farrow and Ball ‘Moles Breath’ on the walls, so I immediately knew I wanted to go with a deep red. Then I remembered how much I liked Benjamin Moore’s Cottage Red (HC-184) from their Historical Collection of colors. Above is the color sample, and below if the final product. I love how deep and rich the Cottage Red is.

So, I rolled out a layer of rosin paper (to prevent any errant primer or paint from getting to the wood floor) and screwed the panels down. Because there are already lots of imperfections (and giant gaps), I am not concerned about additional damage from the screws. Having said all this, I already miss the original floor. But I also really like how the new floor is turning out.

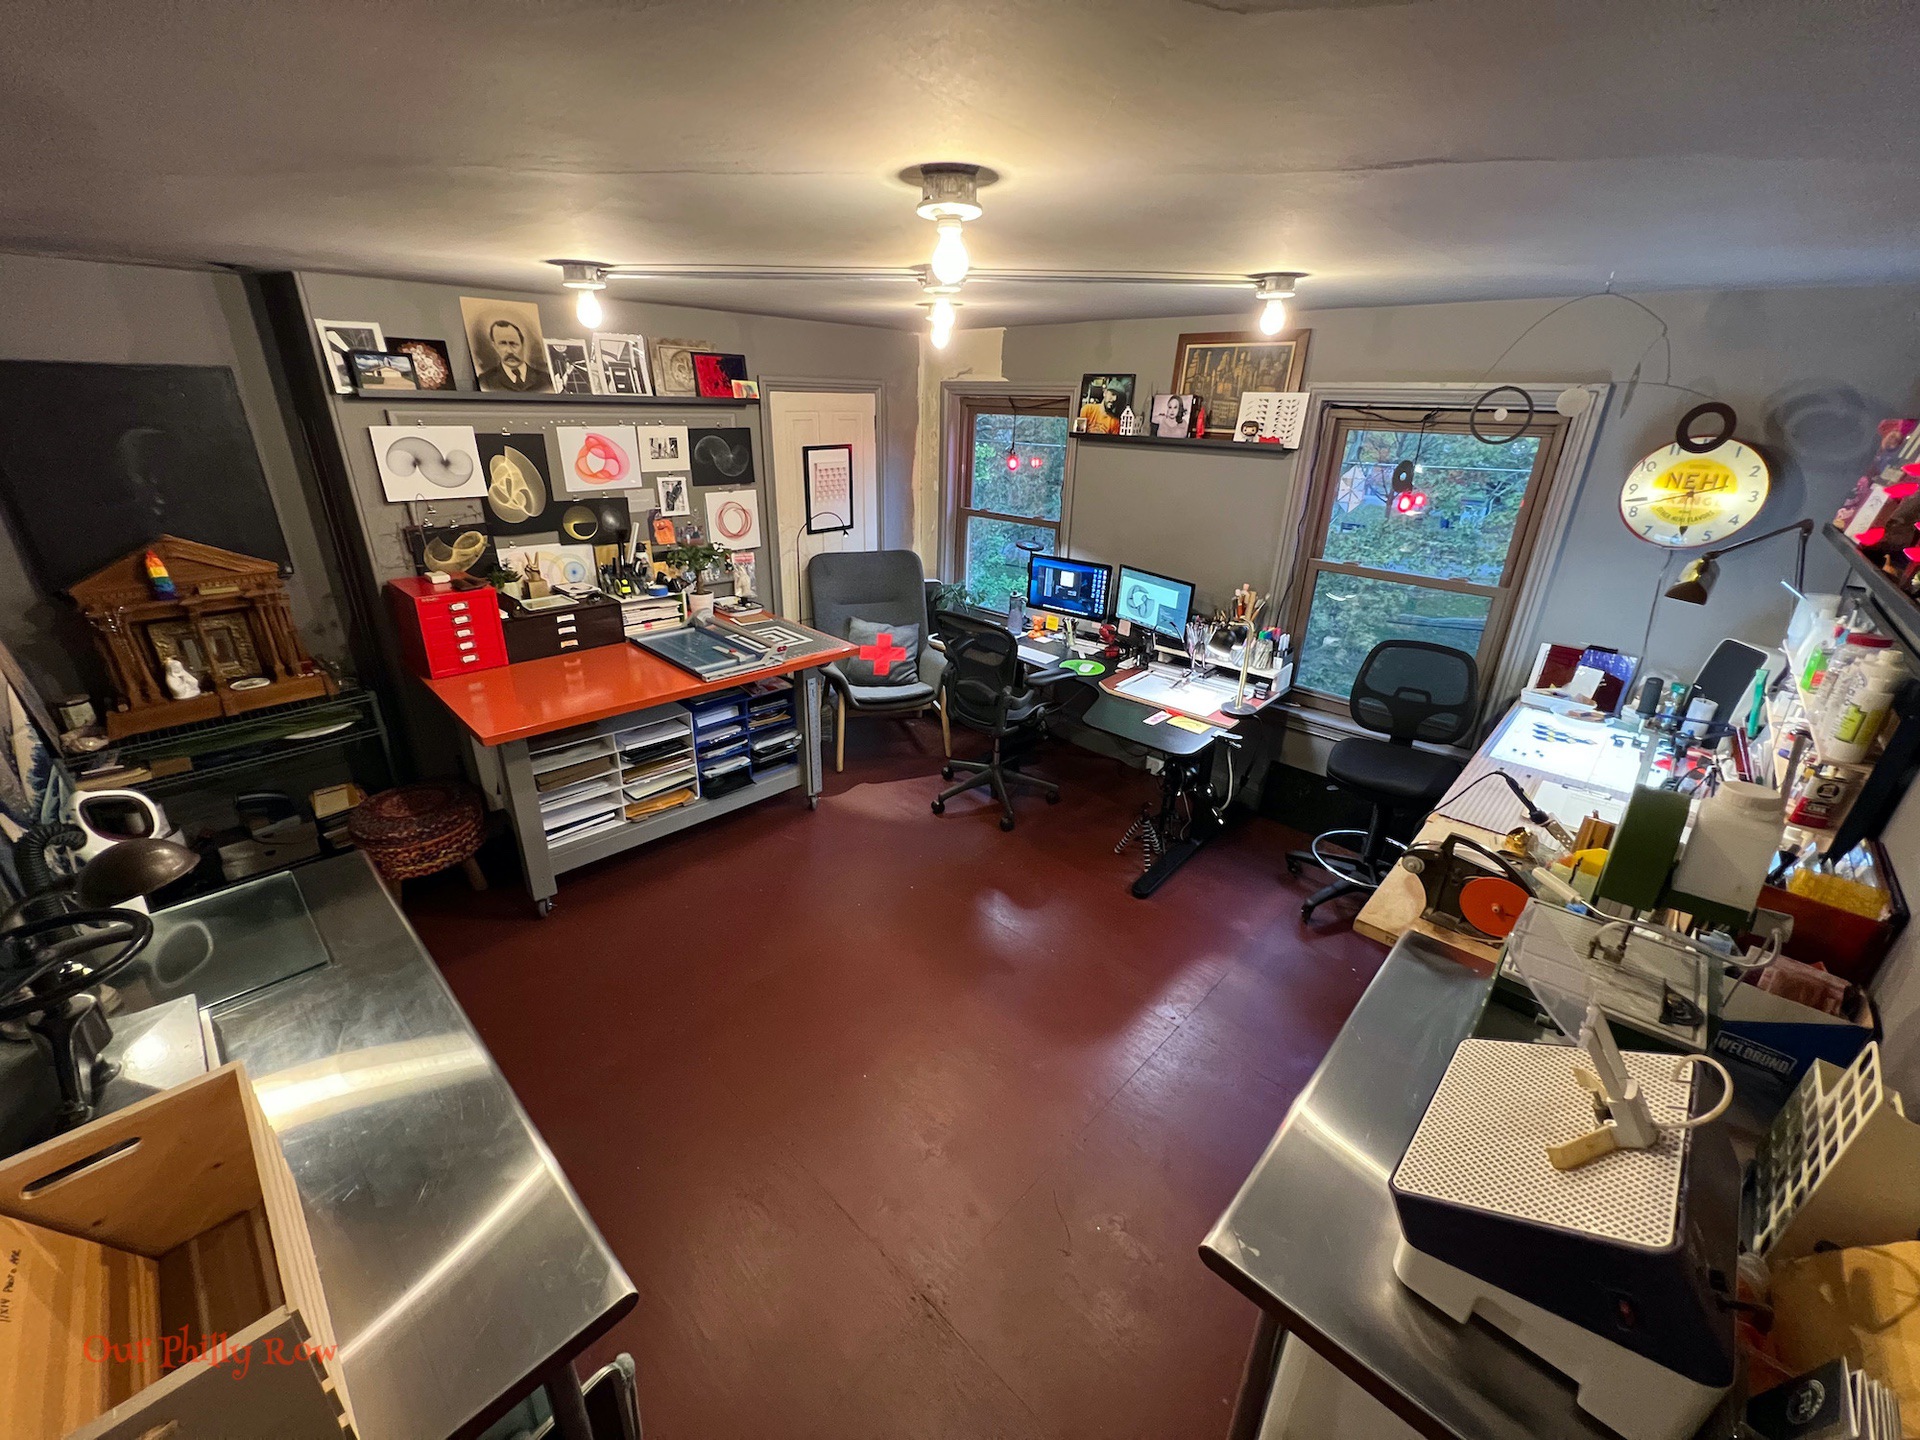
You will note that only two thirds of the room has plywood on the floor (shown in fourth image above). Because I have too much crap up there, it would be far too much work to completely empty the room. I will wrap up the unfinished side over the next couple of weeks as I progress through the space. (I also have not painted the other side of the room yet.)
Well, that brings us to where I am at now… The above image was taken last night right after I finished the second coat. One more coat this morning (shortly after this post goes live) and then I get to wait. I am hoping to have enough patience to wait until the end of the week to allow the paint to cure before I begin moving heavy objects back onto the floor.
Next up… Fingers crossed, I will have my new stained glass studio set up by next week, and I will have progress on the remainder of the space. I promise I won’t make you wait to see how things turn out, I will post about it. I will also be posting about that previously unmentioned room I mentioned in the first paragraph.
I am super excited to dive into making some stained glass goodies of which you can be sure I will share on here.
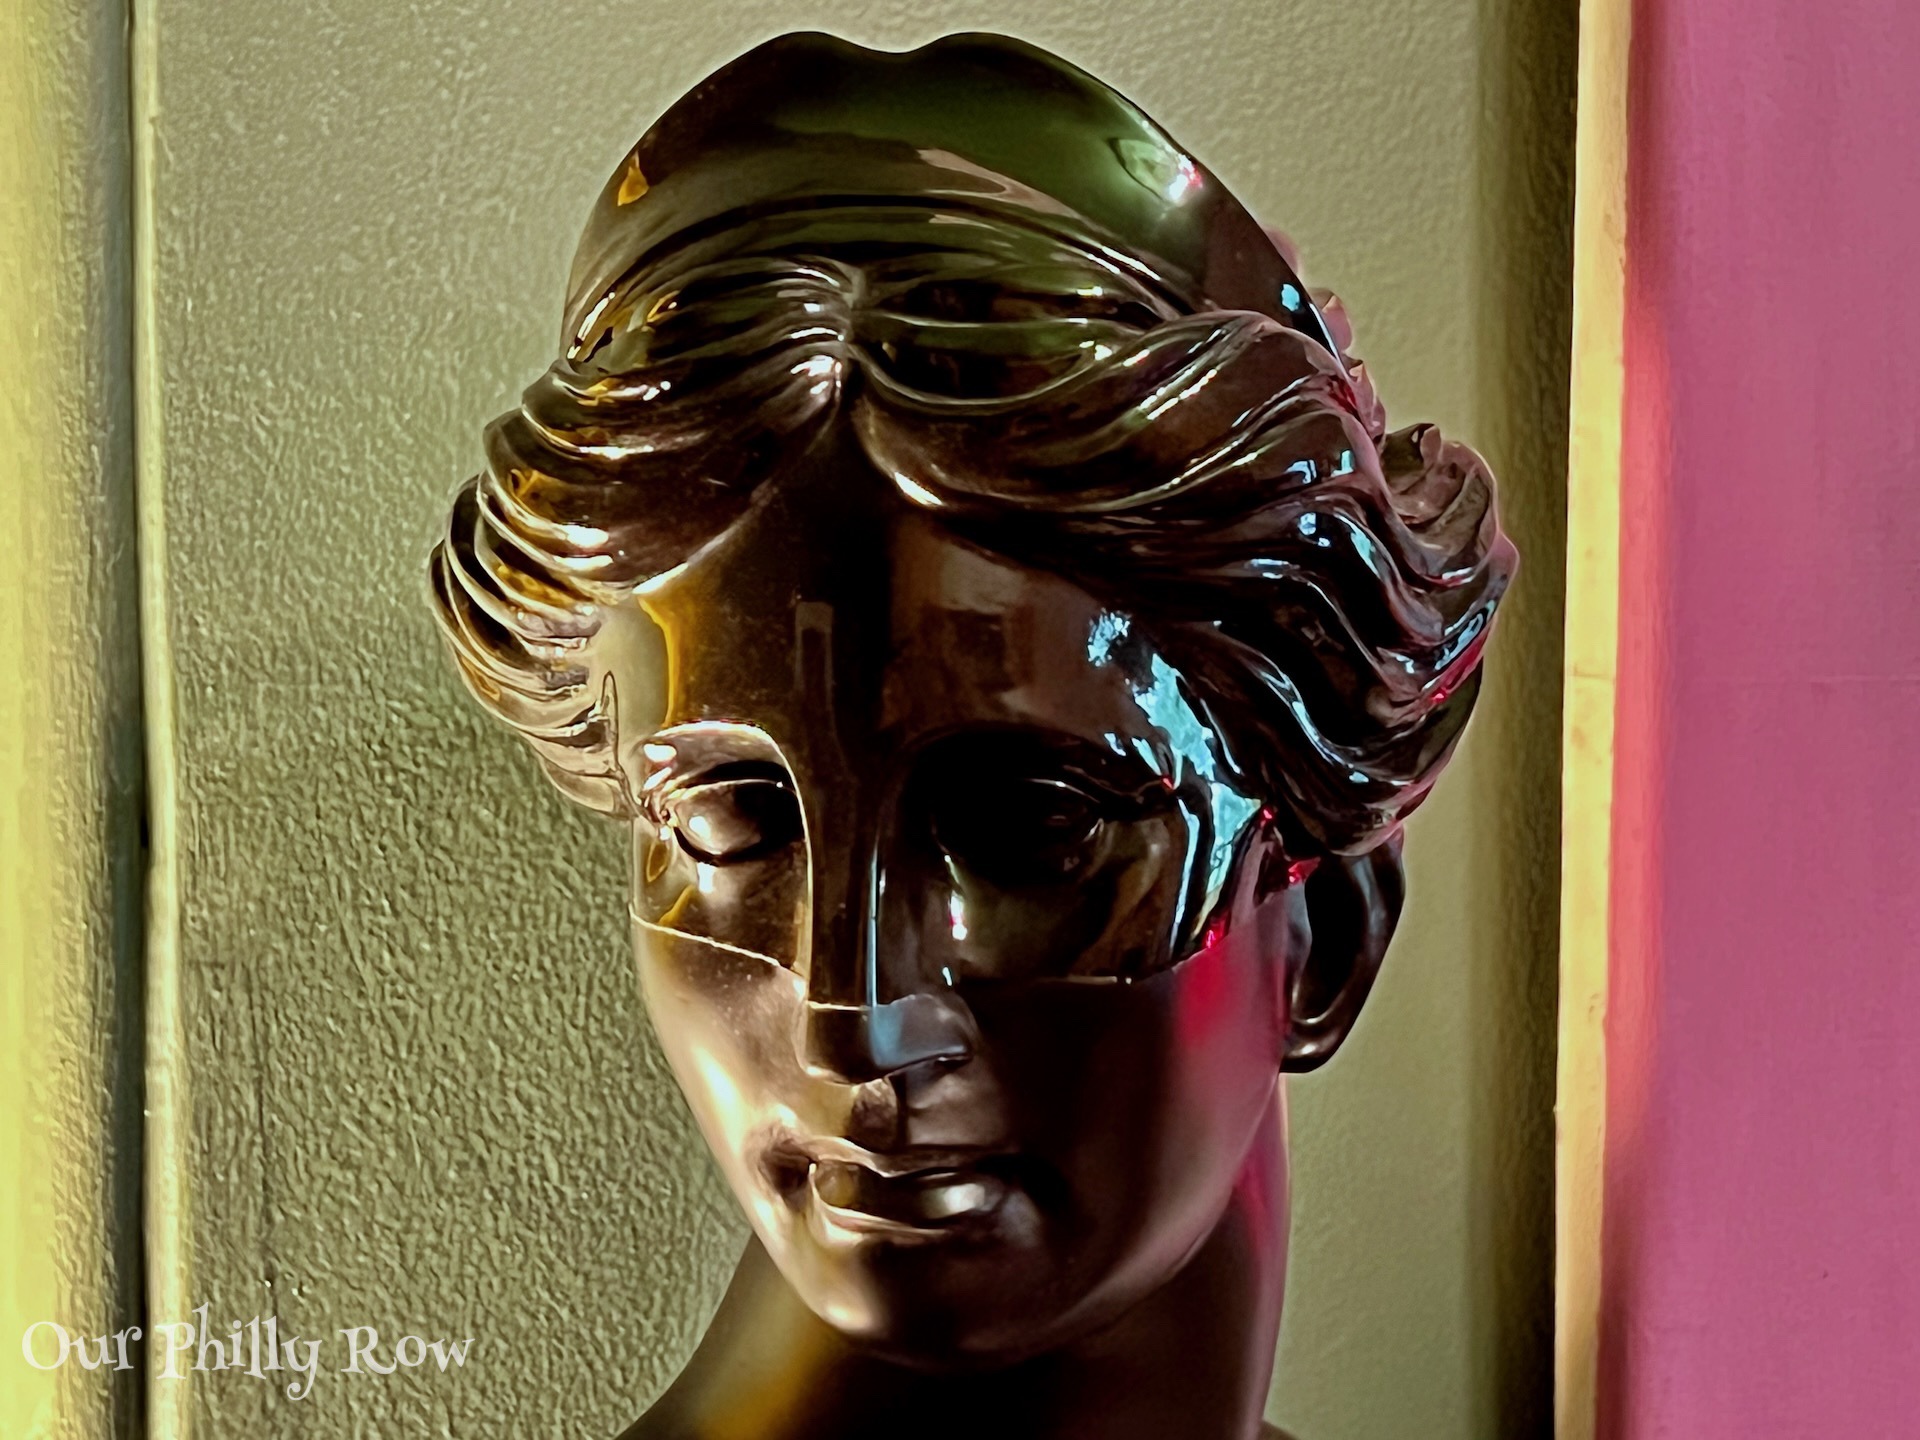
One last thing, that stunning image at the top of this post was derived by a happy accident. I was unpacking some glass and happened to stack a sheet of clear and black swirl on top of a deep ruby red sheet and WOW! I was blown away by how beautiful it was. For now this stunning combo now sits in the rear window. I loved it so much, I used it not only for this post, but it is now my desktop background as well as one of my wallpapers on my phone.

WOW 🤩 Floor looks great and can’t wait to see your stained glass creations 😍
Thank you Connie 😊😊
I am pretty excited about what I can create with stained glass as well. I have a million ideas in my head. 😱
Yay!!! I’m so excited about the studio progress and the stained glass adventure!!!
Hi Devyn! I am so happy to see how the walls came out in your new studio, I also love the way you covered the floor to protect it. Color is amazing. I had to laugh when you described how you have to have a fire under your butt to get started on a project..I am 68 and have diabetes,which I am fighting,diet and exercise.on most days I just don’t have lots of energy.Of course the hot weather does not help! Many blessings to you both, and good luck on your new Stained Glass venture..I love glass also,In fact in my town of Mt Holly NJ We have a Studio right in our downtown . looking forward to future posts!
Wow this is such a fantastic new adventure. I totally agree with you on the word “craft,” it feels like it diminishes the entire … well, craft. When people say “craft” it brings to mind pom poms and hot glue. Not anything like the beauty and technique of stained glass! Anyway I look forward to hearing more about the process and what you produce, I bet it’s going to be beautiful.
[…] I last posted, I had just finished painting the newly installed floor in the creative studio. My plan was to […]
[…] making. This included a printing bench and ample room to work on my woodcuts. Then last fall, I shifted my focus to stained glass and acquired everything I needed for a stained glass studio (photo above). This altered my original […]