
Lipstick on a Pig – Our $400 Kitchen Facelift Reveal!
Our “Lipstick-on-a-pig” kitchen facelift is done!!! Yay! Well…. It has been mostly done for about ten days, but I am finally getting around to posting about it. Getting the kitchen to a place where we can use it without feeling grossed out was high priority when we moved in two months ago.

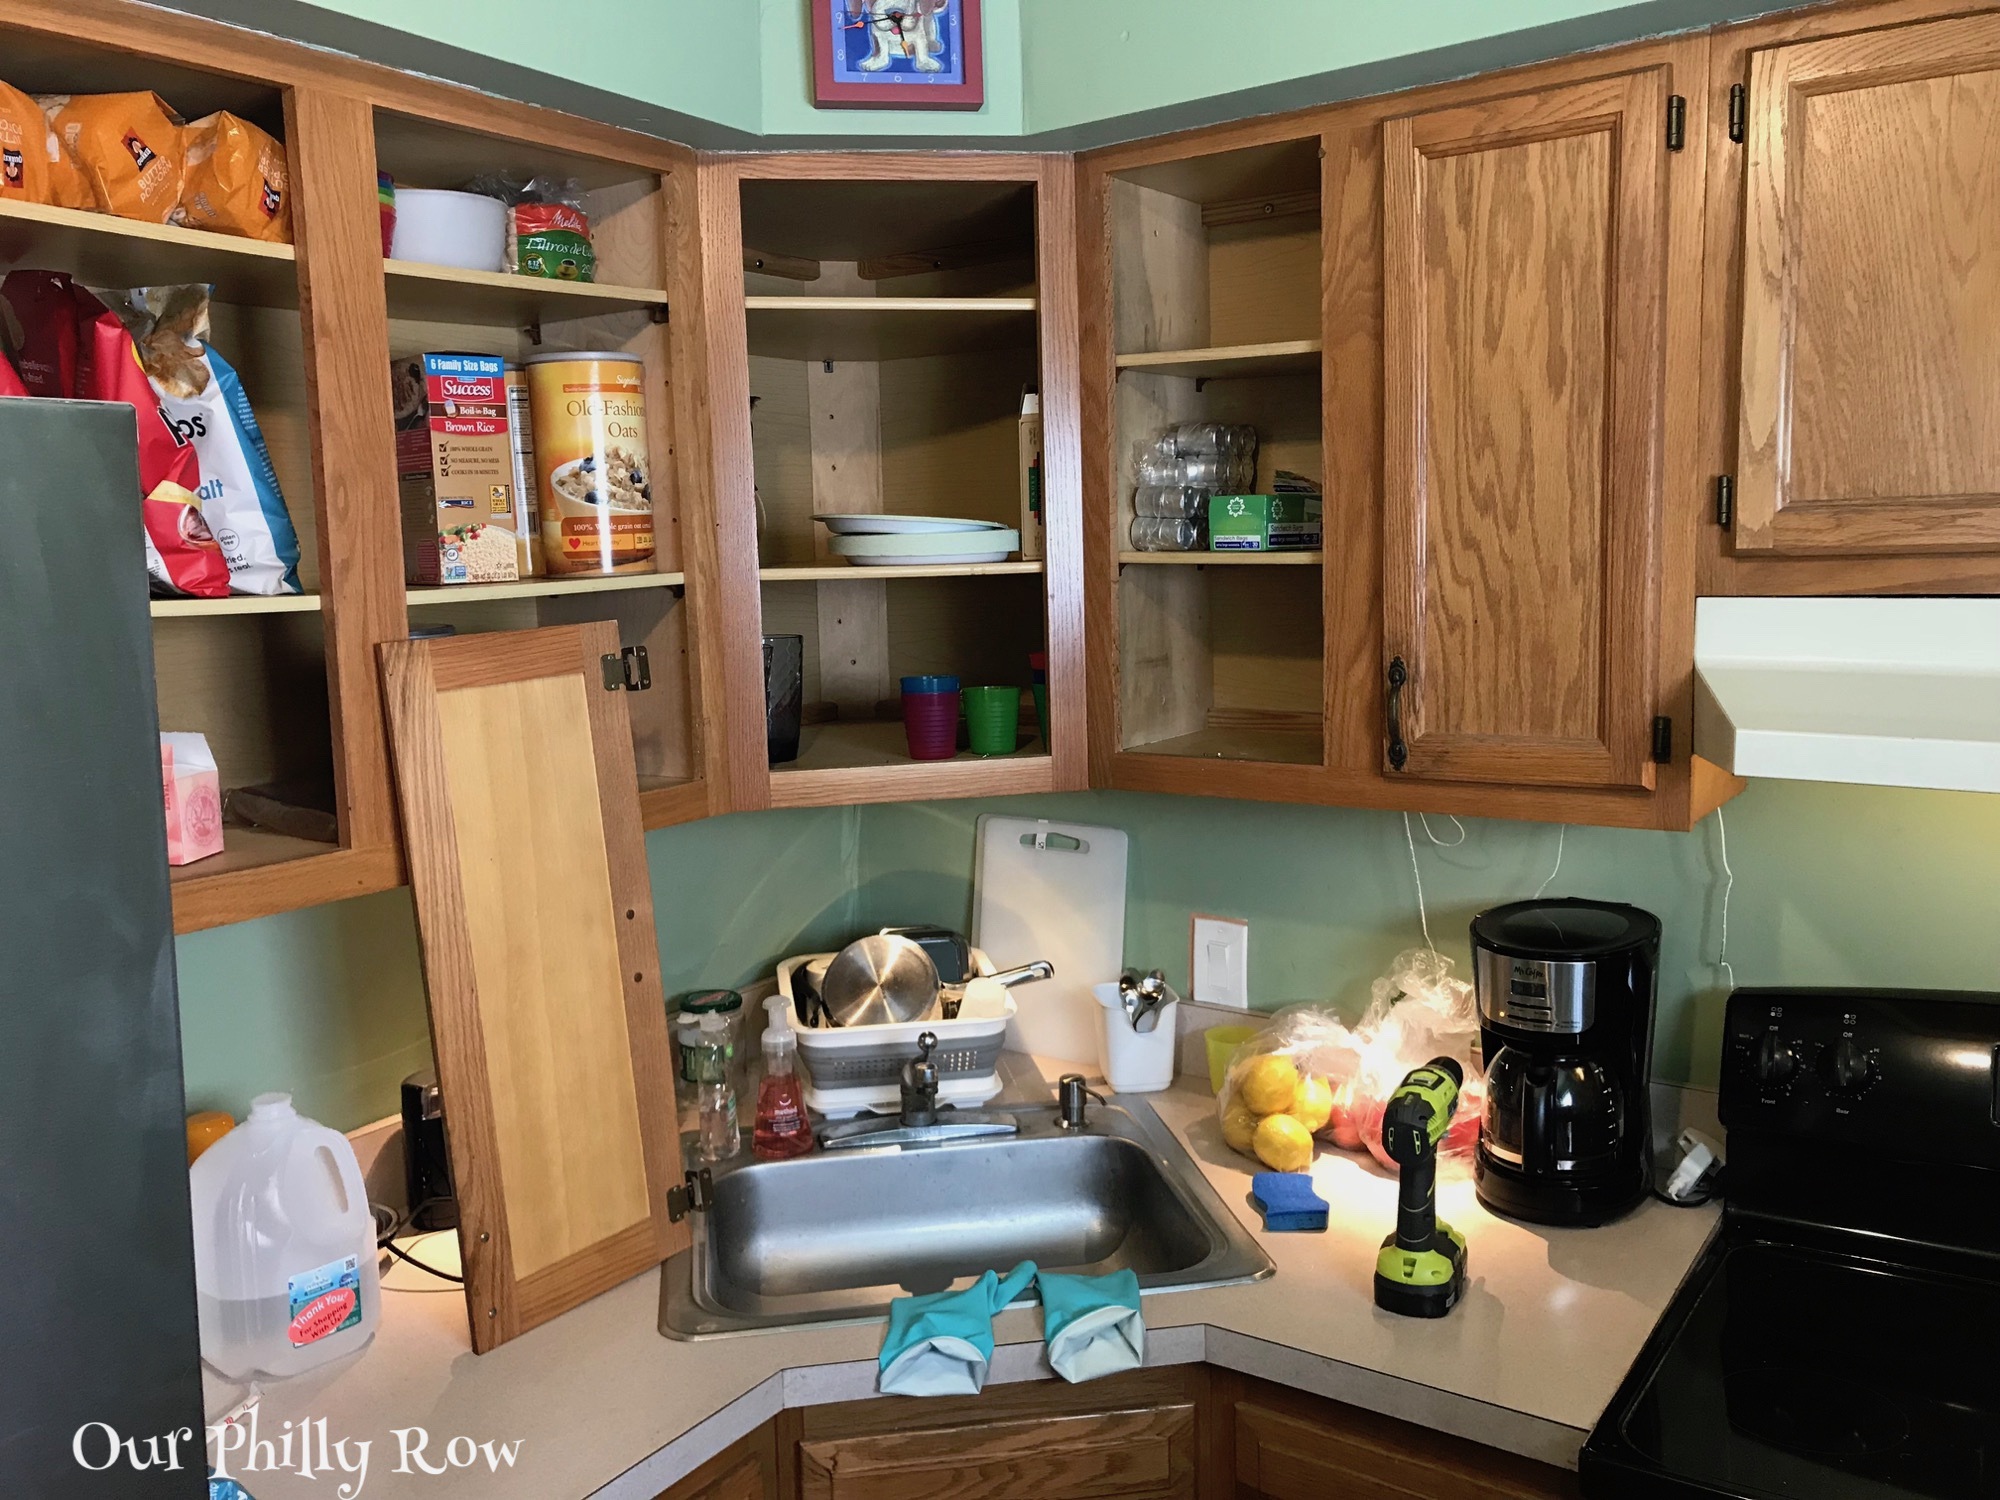
This is the result of a big box vomiting a kitchen in the 90s. Pretty? Ugh! (Image: Real Estate Listing)
If you remember, the kitchen was a dark cave like space filled with cheap big-box cabinets and although functional, not very inviting. Our plan is to do a complete gut and remodel moving everything around in a few years, but in the meantime, we needed to make the best of it as it is with minimal investment.

This is Nana Zelda, the disapproving grandmother we never had, and Matriarch of our kitchen.
But… Before I get to the details, I want to point out that Nana Zelda is back! Nana Zelda is the disapproving grandmother we never had (you know that family member who always knows better and is the first to tell you what you should do in all situations). She kept watch over our kitchen in New York City, and I was thrilled to unwrap her and get her back up on the wall. If you remember, I found her on eBay a few years ago for a mere $41.00 and we named her Nana Zelda and appointed her matron of our kitchen.

We were fortunate to have unused paint from our NY apartment. This of course saved us a lot of money.
Starting with the list from my last post, here is the breakdown of how it went….
Paint – $15.00: We painted everything! Walls, ceiling, and cabinets (including the insides of the uppers). Fortunately, we were able to use left over paint from our New York Apartment for the walls, ceiling, and cabinets (it is a small room). The colors are Chantilly Lace (2121-70) for the upper cabinets, Dior Gray (2133-40) for the lower cabinets and bottom half of the walls, and Tundra (2133-70) for the upper walls and ceiling (all Benjamin Moore). We only needed to purchase one quart of paint which were for the insides of the uppers, we went with Positively Pink (1003-1C) from Valspar. Painting made a HUGE difference to the cabinets and walls, suddenly it was much less cave-like.
[EDIT: In response to the comments about the pink I wanted to add the following response: The pink was an unplanned and unexpected choice. I was originally going to go with blue, but when I started painting the interior of one of the cabinets, I immediately hated it and headed to the store for a quart of paint not knowing what I was going to come home with. Standing in front of the paint chips, I saw the pinks and thought “Hmm… That is unexpected”.]

We went with the unexpected for the interiors of the upper cabinets and I am loving it! The color is Positively Pink (1003-1C) from Valspar. This shot is from last month before I got started on the lower cabinets.
New ceiling light – $25.00: As I mentioned in my last post, the light that was there when we bought the house had to be destroyed as soon as possible lest the ugliness of it spread to other areas of the house (for the record, here is a photo of said ugly light). We had the electrician replace all of the ceiling fixtures with porcelain sockets last year, so I had to do something. I decided to challenge myself by setting a limit of $25.00 for a new light fixture. Not a lot for a new fixture, and especially not much for one which will meet my style requirements.

After having our electricians install porcelain sockets throughout the house last year during the electrical upgrade, I needed an affordable option which was aesthetically acceptable for the kitchen. I also needed more light than a single bulb. I scored this fixture which was mistakenly marked down for clearance at Lowe’s.
As luck would have it, I found this fixture accidentally marked down at Lowe’s from $79.00 to $25.40. I say accidently because there was a sign hanging from the display which said it was on closeout, but the sign was ultimately wrong. The store however honored the closeout price without any real insistence on my part (the tag remained for another week) and I got a much nicer light than I expected. It’s not quite my style, but it met one of my requirements of having more than a single bulb as I need as much light as I can get in that room. It also worked out that I happen to have three LED Edison style bulbs from last year in my light bulb box (everybody has a light bulb box, right?).

The new white range hood is almost exactly the same as the almond colored one we removed only it isn’t covered in grease and cat hair.
Nana Zelda watching over our new kitchen.
New range hood – $45.00: The existing range hood was almond color (ugh) and caked in grease with cat hair. It was also the cheapest one you can buy which reflects the overall quality of the kitchen when it was installed. But… It worked out great for me as I was able to buy a brand new identical replacement in white for $45.00. We don’t do much cooking with greasy foods, so it isn’t super important to have a fancy range hood.

I am not generally a fan of open shelving, but leaving the cabinet doors off of the one upper cabinet gives the space a lot more character. It’s also much cheaper than trying to add glass doors.
Under cabinet lighting – $22.00: As noted in my last post, I simply cannot understand how anybody can live without under cabinet lighting. This is especially important in our kitchen as the sink is in the corner with no overhead source of light. Not wanting to invest much, I ordered an LED light strip from Amazon and with an additional order of connecters, I managed to create a very bright under cabinet experience. (It’s an experience, am I right?). It is on a dimmer switch which makes it nice for late night mood lighting in the kitchen.

This is the inexpensive (under $3.00 each) cabinet hardware that I decided I could live with for a few years.
New cabinet hardware – $44.00: I wasn’t having the old cabinet pulls as they were dirty with grime and just too ugly to reuse. I found these at Lowe’s for less than $3.00 each and although they are not what I would choose for a total overhaul, I can certainly live with them for a few years.

The horrible drawers are much better now that they have organizers in them.
Drawer organizers – $50.00: There are only three drawers in the kitchen and they are all crappy. They are shallow, flimsy, and not able to hold much weight. I looked around for organizers but couldn’t find any that made good use of the limited space. There are no plastic organizers around that fit the drawers well. Then I turned to Amazon and found bamboo organizers for the flatware and utensils drawer (the third drawer is barely seven inches wide and it is the catch-all junk drawer). It turns out that I found a flatware organizer that fits the drawer by the stove perfectly, and for the utensil drawer, I found one that is expandable to fill the space within the drawer. The drawers are still crappy and flimsy, but at least they are more organized than before.

The new Pfister faucet. It is far better than the old one looks wise, but I hate that it takes forever to fill the coffee pot with the new (required) low-flow faucets. The dish soap is in a vintage lab bottle.
New sink faucet and ice maker hookup – $105.00: The existing faucet was horrible. It was corroded, it constantly dripped, and it was ugly. I don’t usually go cheap on faucets because I am always nervous they will spring a leak, so I went one level above cheap and bought a basic pull out Pfister (which is a well known brand). It was $79.00 and when added with the parts to connect our ice-maker, we are in about $105.00 total for plumbing. Not having to use ice cube trays is priceless.
I will add that I am not thrilled with the performance of the faucet. I understand why there is a low-flow restricter on new faucets, but it is frustrating that it takes almost 30 seconds to fill the coffee pot in the morning. This faucet feels like it is just trickling out compared to our much nicer (and more expensive) faucet in New York which also was a water saver, but because of good design, it felt like it had much more pressure.

The “Fauxdenza” from our New York apartment has been repurposed for kitchen storage.
New storage – $70.00: I repurposed the “Fauxdenza” from the entry gallery of our New York apartment into a kitchen storage unit. The fauxdenza was an assembly of three IKEA Sektion kitchen cabinet boxes attached to each other with a wood top. It was too long for our kitchen, but with the purchase of another cabinet box for $45.00, I reconfigured it to be two over two creating storage as well as a convenient spot for the microwave. In rebuilding the cabinets for the fauxdenza, I was able to create a spot for the microwave as well as install my beloved spice racks from Vertical Spice Rack (brought from NYC).

I brought my beloved slide out spice racks from New York City and was able to install them in our kitchen storage fauxdenza.

The completed above refrigerator cabinet. Yes, you see a box of wine… Judge me if you must.
I also recreated storage space above the refrigerator. We had to buy a new fridge shortly after taking ownership because the one which came with the house couldn’t keep ice frozen. It turned out that the new one was too tall for the space forcing me to (at the last minute) rip out the upper cabinet. This left a rather unsightly wound above the fridge, so I decided I could build something to fill in the gap. Using a 1″x12″x8′ pine board and a small piece of masonite, I built a custom box to fit above the fridge. I primed and painted it to match the cabinets. The quality isn’t very good, and you can see blemishes in the low quality pine boards, but for the $25.00 invested, it worked out perfectly.

The door to the backyard is in about the worst possible place, rendering this side of the kitchen as useless for storage. It will be moved when we re-do the kitchen in a few years.
A few more parting shots…

Our Positively Pink cabinet interiors work great with our everyday dishes.

The door to the back yard and our ugly, but better than what’s underneath it, laminate floor.

I haven’t pulled out the pins on our Trump Voodoo doll, I’m guessing he will just suffocate in the bag without my help.

This clock was left hanging in this spot by the last owner. We decided we kinda liked it and that it should remain until we completely re-do the kitchen in a few years.

Our newly organized (if still limited) utensil drawer.
So, there you have it…. Add a $20.00 plant with pot from Ikea and we are in at under $400 for this facelift. Not bad!

The pink cupboard interiors look great!
I can’t believe how much in such a short period of time, it Looks great!
Thanks 🙂
Pink is not something I would have envisioned ever doing, even recently, but I wanted something fun and unexpected. I was originally going to put the doors back up on the one upper, but decided it was better to leave them off (also because the cabinet is so small, the dishes barely fit on the bottom shelf).
Looks good guys !!! Love the spice rack.. where did you get that. Love the extra cabinet too !!
Oh, I should have put that in the post… The spice racks came from a company called Vertical Spice Rack (https://www.verticalspice.com) They are a bit spendy, but we love them. (I’ll ad this link to the post now).
Hi Devyn, love your blog, but the long captions on pics make it really hard to read, especially in Feedly. The captions interrupt the story, and are confusing or you end up reading things twice. Try reading the entire post in the Feedly app and you will see what I mean. I’m trying not to make this sound mean, so please don’t take it the wrong way. Check out Chris Loves Julia or something to see the difference without captions interrupting the post. Good luck with your reno!
Michelle, Thanks for the feedback.
I have long used captions because they do serve a purpose… I took a look at the post in Feedly, and yikes! You are right, it is horrible. I guess my first question is why does Feedly handle them this way given that the captions have specific shortcode which is distinctly different than standard body text (another words, why isn’t Feedly able to differentiate a caption from body text)?
That said, I will definitely spend some time exploring options. I’d hate to give up captions because of this, and I would hate to lose readers because of it too.
Looking good for a temporary kitchen…..possibly Nana Zelda will sneak a glimmer of a smile every now and then…… 😏
Thanks Helen, I am sure Nana Zelda is judging us for not having a nicer kitchen, but if I can wait, so can she.
You guys are doing a great job with your kitchen. I like the pull out spice rack. What store did you get it. I want one.
Thanks Lila 😊
I bought the spice rack online from Vertical Spice https://www.verticalspice.com/
I rarely shop in stores as they rarely have anything this good. I bought it for our New York Apartment, and brought it with me when we moved. The entire set was $200, but it is totally worth it for the quality, and they will last for many years to come.
It looks so great, Devyn! I love the pink too. 🙂
Thanks Stacy! It is a far cry from the fancy NYC kitchen we left behind, but it will tie us over for a few years till I can do the dream kitchen again. The pink was an unplanned and unexpected choice. I was originally going to go with blue, but when I started painting the interior of one of the cabinets, I immediately hated it and headed to the store for a quart of paint not knowing what I was going to come home with. Standing in front of the paint chips, I saw the pinks and thought “Hmm… That is unexpected”. 😊😊
Love what you did with so little money! And really love the pink! Well done. Definitely liveable til the major reno!
Thanks! It will hold us over till the major reno. Not having a dishwasher will likely be a driving force to save our $$ to get the reno done as soon as reasonable. 😉😉
Love it!! I’d be a little concerned about having Nana Zelda that close to the knives though. Just sayin’.
Good point! I will be sure to keep an eye on her. 😊😊
I opened the picture of your light fixture on my phone last night and couldn’t zoom out to see it all at once but you’re so right… though I’d still donate it to Habitat and write it off pretty generously. It’s funny how much better everything else looks. I sorta thought the tan countertops were going to stick out like a sore thumb but they look better now than they did before when they were probably chosen to go with… all that.
As for quality of appliances, I’ve heard that the fancy ones are just as disposable as the no-frills ones.
I will definitely be donating it (along with a bunch of other ugly crap).
The countertops are still pretty ugly and as much as I have scrubbed them they still feel dirty… But… They are much more tolerable now than the were with the green and oak. I don’t cringe as much when I walk into the kitchen.
Within a week of taking possession of the house, we discovered that the nasty white refrigerator/freezer couldn’t keep ice frozen more than a day, thus we needed to buy a new fridge quickly. We ended up getting a stainless steel side-by-side a few levels down from the one we had in NYC thinking we didn’t need any fancy-ness. Well, I can tell you that even though they are very similar, I miss the better storage and lighting of our NY fridge (but not enough to do anything about it). The stove will most definitely be replaced as I prefer gas, and of course, there will be a dishwasher in the new kitchen… We are still a few years off from that though. I can make it work until then. 🙂
[…] of where I’ve been recently. We have lived in our house for three months, and other than the Lipstick on a Pig kitchen facelift and a few small quality of life tasks, I have been completely frozen with overwhelm when it comes […]
Greetings from the UK! I happened upon your blog while looking for kitchen ideas. I noticed a lot of reference images you’re posting tend to have Farrow and Ball paint colours, so thought I’d let you know what a lot of us do over this side of the pond in case it’s any use to you over there. As Farrow and Ball is kind of the ubiquitous ‘high end’ paint company over here, most paint shops that use a machine to mix paint colours to order have the codes for all the Farrow and Ball colours saved. So, you can get an exact match for the colour in a more generic looking paint tin, meaning I pay the equivalent of about $45 for a gallon of paint. Having used both the real F&B stuff and the colour matched option, the colours and quality are exactly the same. Seeing as you have such a big renovation project I thought I’d mention it in case you can do the same thing over there. Best of luck with it all!
Kelvin, Thanks for stopping by! Are you sure you haven’t been in on my conversations with my close friends on how to handle my appreciation for F&B colors? Just last week, I had my local Benjamin Moore (considered very good paint here in the US) paint guy mix up a test pot to match F&B Brinjal (#222) and also a sample of Benjamin Moore’s “Bewitched” as a potential for our entry vestibule. I already had done a test spot with my sample pot of F&B Brinjal, so I painted the matched version next to it, and the Bewitched above. As for the matched color, there was very little difference. But I could tell the F&B had a bit more depth to it, and the color shift with the change in lighting was subtle, but lovely.
We used F&B for the kitchen cabinets in our last home and it was a dream to use. The quality of the paint is very good, and the color is exceptional, and the coverage was fantastic. Having painted 40+ rooms in the last 30+ years, the one thing I have learned is good paint is worth the extra investment.
As it turns out (and as I haven’t officially posted about yet), we have decided that only the living room and the master bedroom will get the full on Farrow and Ball treatment. Since we don’t have an unlimited budget, the rest of the house will get the highest quality Benjamin Moore paints (about 40% less than F&B). Using F&B in those two rooms will cost a bit more, but not really that much more, and it will make them feel just a bit more special.
I am working on a post about going dark (I’m a big Abigail Ahern fan), and another one on which colors we are planning to move forward with. I do hope you will stop by again.
Seems like my timing was good! In the UK it depends which paint company you use to match F&B colours, some of them scan the colour, in which case the colour is ‘there or there about’ but the local paint place in my neighbourhood has the colours saved in their machine, and the colour is close enough that I could paint half a wall in it, and half a wall in the F&B and you wouldn’t be able to tell the difference (colour depth, sheen level, the way it reacts to light etc all being exactly the same).
My house is a slightly scaled up version of yours, and there’s no way I could afford to do it all in actual F&B paint, but I really appreciate the only having 132 colours to chose from, it reigns in my indecisiveness!
Looks good. For a temporary remodel. I know I would be grossed out with the grease and cat hair too !!!!
Thanks Laura, We are a few years away from the full kitchen/dining room renovation, but for now, I can live with this.
[…] soon as we got back, It was time to get to work on the house. First project? Putting lipstick on our ugly pig of a kitchen to tide us over for a few years until we can address the rear of the house and do a major […]
[…] time, I have done a tremendous amount of planning in my head, but only completed one space, our ‘Lipstick on a Pig’ kitchen, and even that is only to serve as a temporary solution until we can go in and completely gut and […]
[…] Devyn’s Lipstick on a Pig Kitchen Makeover […]